How to Reorder an Existing Photo Book with Layflat Paper
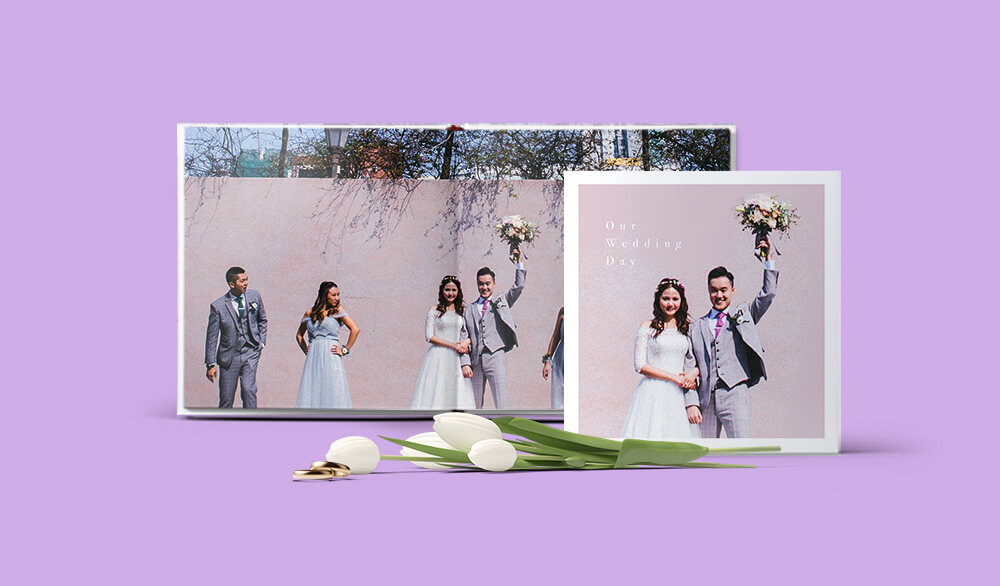
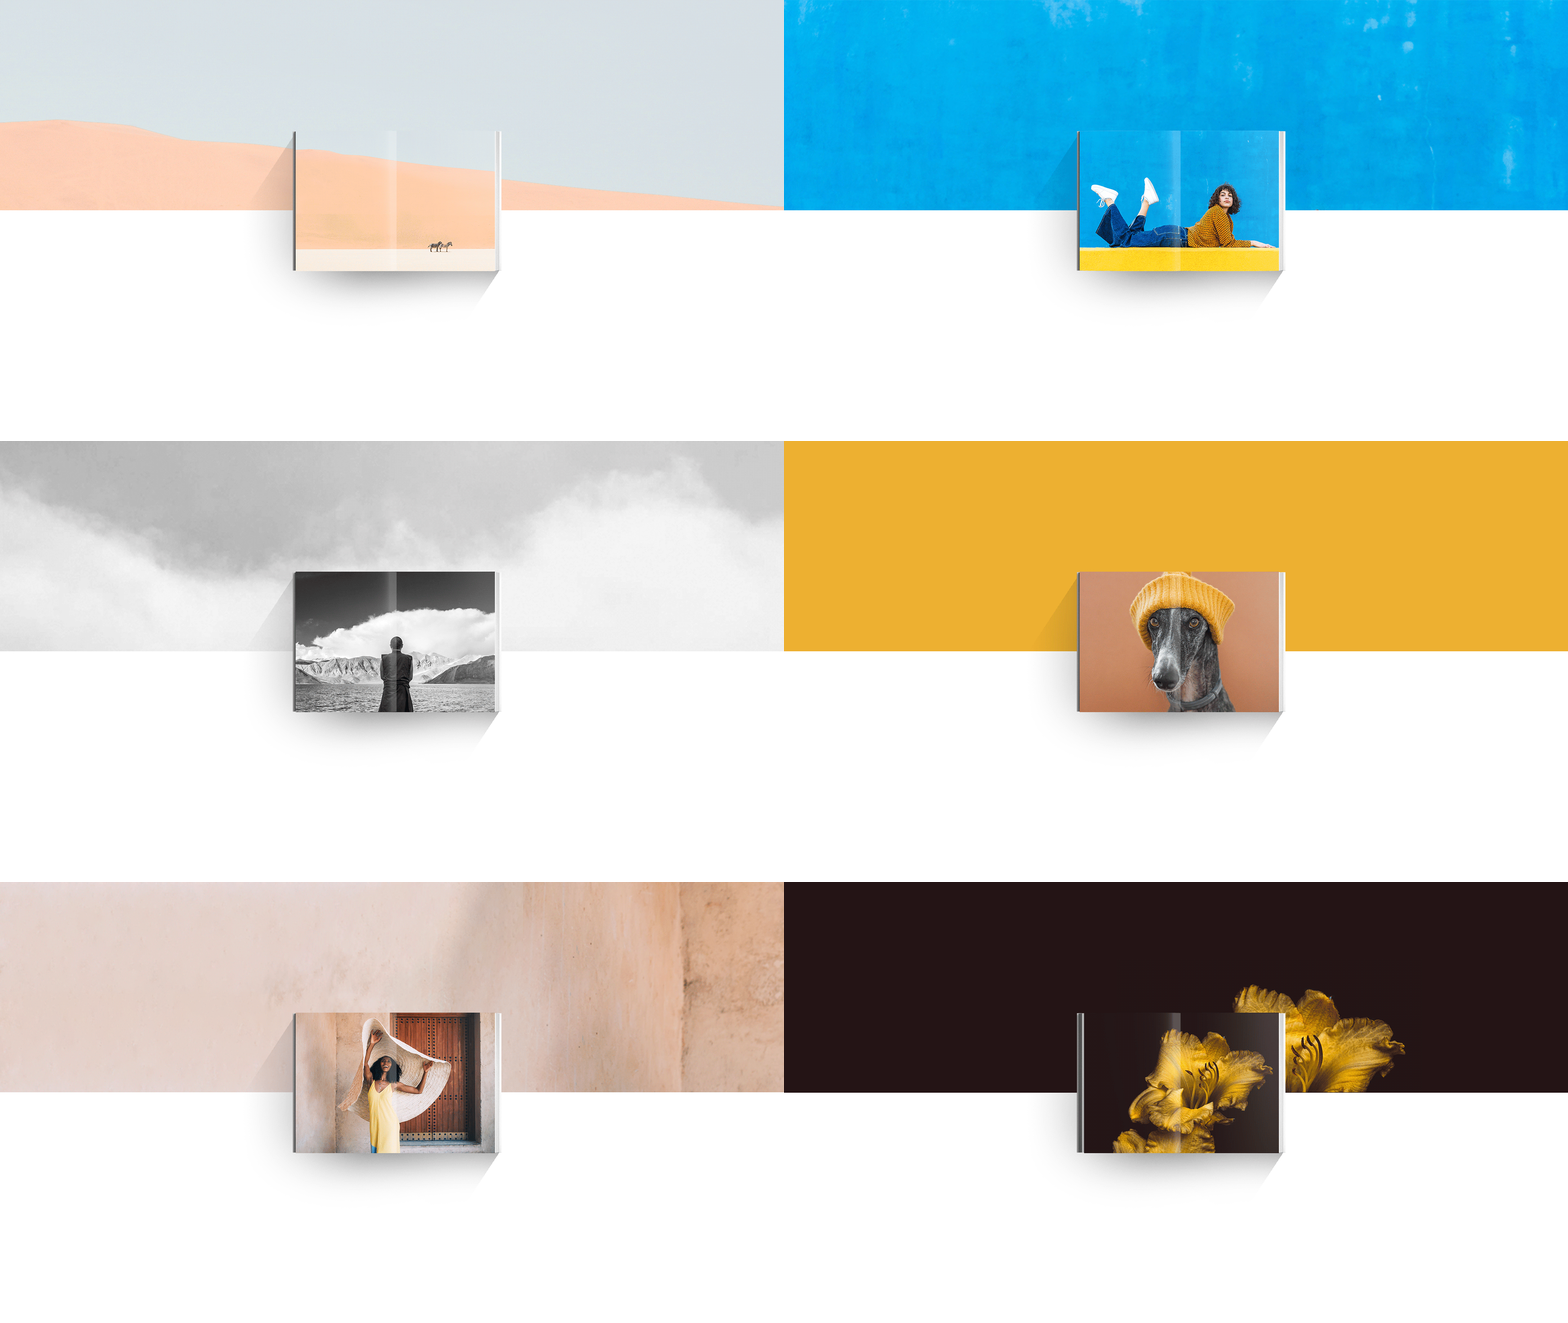
Layflat photo books make great gifts for holidays, anniversaries, weddings, or any other special occasion. Layflat paper types allow images to stretch across a two-page spread, to take center stage and make a bigger impact.
Now, I know what you might be thinking. “I already made this book, I don’t have time to recreate it.” That’s the best part! You can easily reorder any of your existing photo books with Layflat paper.
Simply follow the directions below based on your book-making tool to reprint your past books with beautiful Layflat pages. Keep in mind that the Layflat paper page limits are between 20-110 pages.
To upgrade an existing Layflat Photo Book to Premium Lustre paper, simply follow these instructions.
Whichever tool you use, be sure to carefully review any artwork on your book’s cover and spine before ordering as you may need to make adjustments after the conversion to Layflat.
For existing books made with BookSmart:
1. Log in to your dashboard via blurb.com
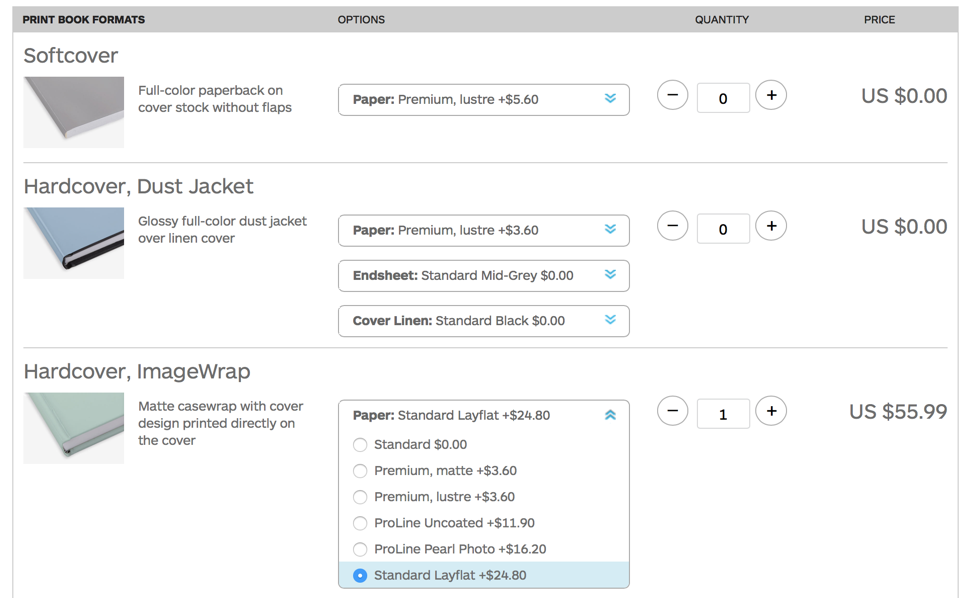
2. Select Order More under the photo book you want to upgrade to Layflat
3. Within the cart, select Standard Layflat from the drop-down paper type menu
4. Add your book to your cart and checkout
For existing books made with BookWright:
1. Locate and open your existing file (You MUST have your original file)
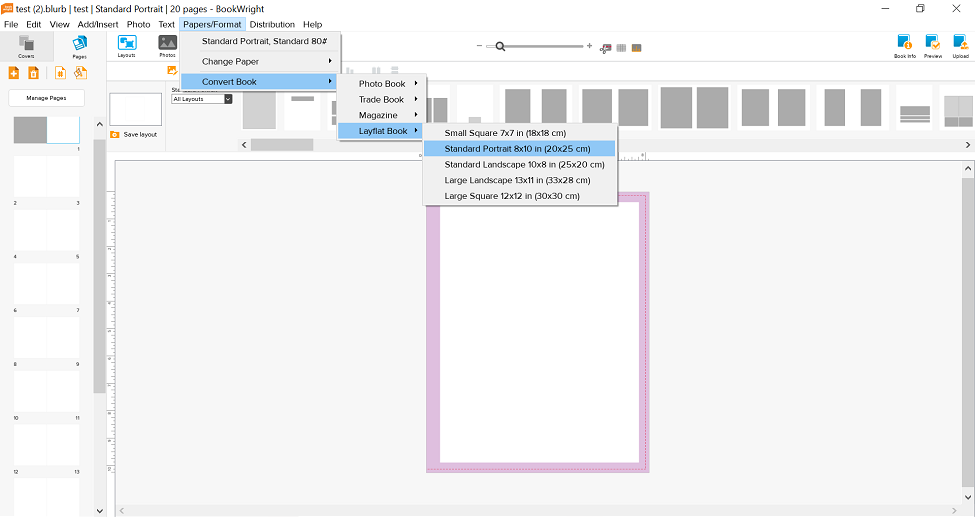
2. Select Papers/Format in the top menu
3. Select Convert Book from the drop-down menu
4. Select Layflat Book from the drop-down menu
5. Choose the correct trim size
6. A warning message will appear letting you know that upgrading to Layflat may result in changes to your cover and spine. You will need to check these elements carefully to ensure your text and images are displayed correctly. Click Yes.
7. Upload your finished book to Blurb
*Remember to double-check your cover and spine, as you may need to make adjustments once your book has been converted to Layflat.*
8. Select Order
9. Add your book to your cart and checkout
For existing books made with InDesign:
1. Open the Blurb InDesign Plugin and select Create New Book (You MUST have your original InDesign files)
2. Enter the exact details of your previous book, including trim size and page count. Select Layflat Standard Paper from the paper type drop-down menu, and Hardcover, Imagewrap from the cover type drop-down menu.
3. Instead of creating a new Pages Template, use the link button and link to your existing photo book’s InDesign Pages document.
4. Open your existing photo book’s InDesign Cover document. Go back to your new Layflat book and create a NEW Cover Template by clicking Create Cover Template. Select ALL from your previous Cover Template and paste to the new Cover Template. The new cover will have a different spine width so carefully adjust all elements on the page to fit as desired.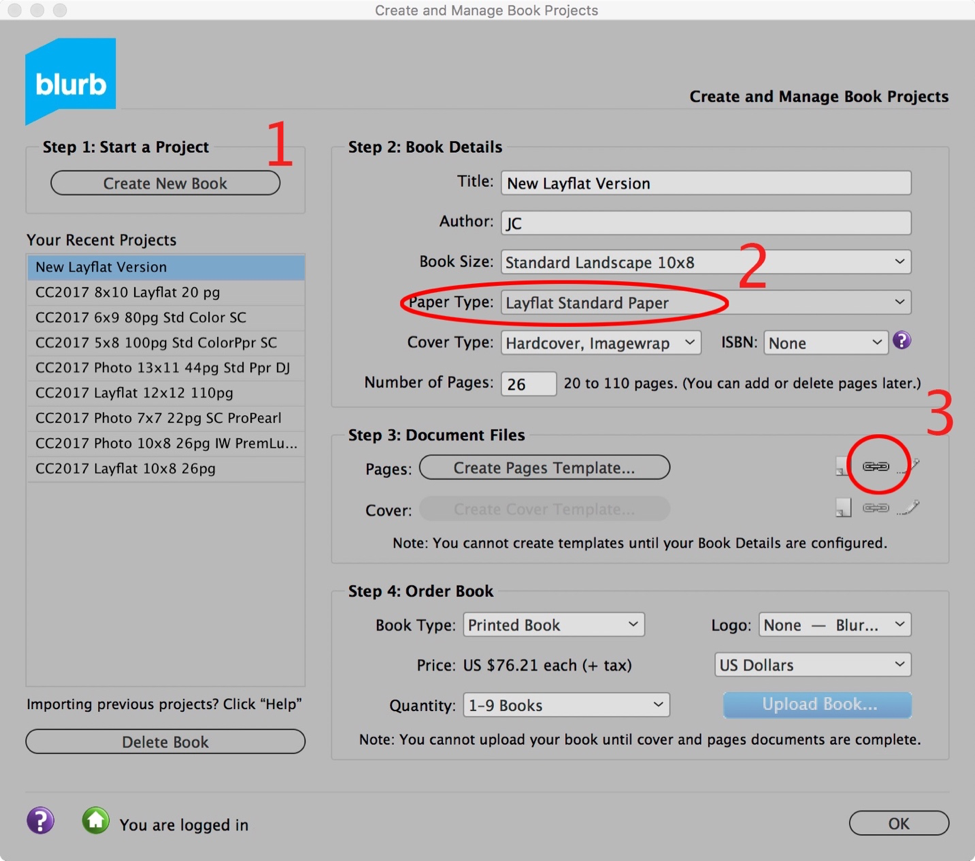
5. Upload your Layflat book and order
For existing books made with Lightroom:
1. Open Lightroom and the photo book you have saved
2. Select Standard Layflat in the Paper Type drop-down menu

3. Check your cover. Using Layflat paper may affect the spine width of your book, so double check your cover spread.

4. Your book is ready to upload and order
For existing books made with PDF Uploader:
1. Locate your existing PDF files *You MUST have your original file*
2. Upload the PDF files to the Blurb PDF Uploader
3. Select ImageWrap and Standard Layflat Paper from the paper type menu.
4. Carefully inspect the preview as the cover may need to be re-sized and elements may have moved slightly. If you decide to create a new Cover PDF for your book with Layflat paper, see our Specifications Page to get exact dimensions.
Pretty easy, right? As you can see, it’s simple to breathe new life into an older photo book by upgrading it with Layflat paper. Enjoy!
Got a question? Our support team is always here to help!

This post doesn't have any comment. Be the first one!