How to make a coloring book
Did you hear? Coloring books aren’t just for kids anymore. It’s not that surprising when you consider how relaxing it is to take a coloring break and see those vibrant pages come to life. Many adults even use coloring books as part of a meditation or mindfulness practice, since the act of drawing can be such a soothing exercise for the body and mind.
Whether your goal is to relieve stress, inspire creativity, or showcase your drawing skills, there are plenty of great reasons to make your own coloring book—and it’s easier than you think. With Blurb’s free book-making tools, you can design and print a DIY coloring book to keep, gift, or sell.
Planning and drawing your DIY coloring book
1. Select a theme
Your DIY coloring book can be simple and straightforward, or wild and whimsical. Focus on imagery that inspires you—animals, flowers, landscapes, food, people, objects, or abstract designs. Choosing a single theme isn’t absolutely necessary, but it will give your coloring book a cohesive feel. For example, illustrator Sylvie Lee, chose to combine botanical illustrations and fun facts in her unique coloring book, State Flowers of America. Not sure what to draw? Start by tracing a photograph or looking at fabric patterns for inspiration.
2. Consider your audience
Who is this coloring book for? The age and dexterity level of your audience will affect how you draw your images. If your book is intended for children using crayons, you’ll want designs with thicker outlines and larger blank spaces to fill in. Whereas a coloring book for adults may have drawings that are more complex with thinner lines and smaller, intricate details. We love the way Jessie Oleson Moore found a way to captivate people of all ages with her magical illustrations in The Unicorn Coloring Book.
3. Decide on a trim size and page orientation
Before you start designing, visualize the look and feel of your coloring book. You want pages that are large enough to show the details of each drawing and be easily colored in with different media (pencils, ink, or markers). If you’re going to scan your illustrations, consider the size and orientation of the original images when selecting a trim size. Are your drawings already on 8½ x 11-inch pages? Do want your coloring book to have portrait or landscape-style pages?
4. Choose a medium and start drawing
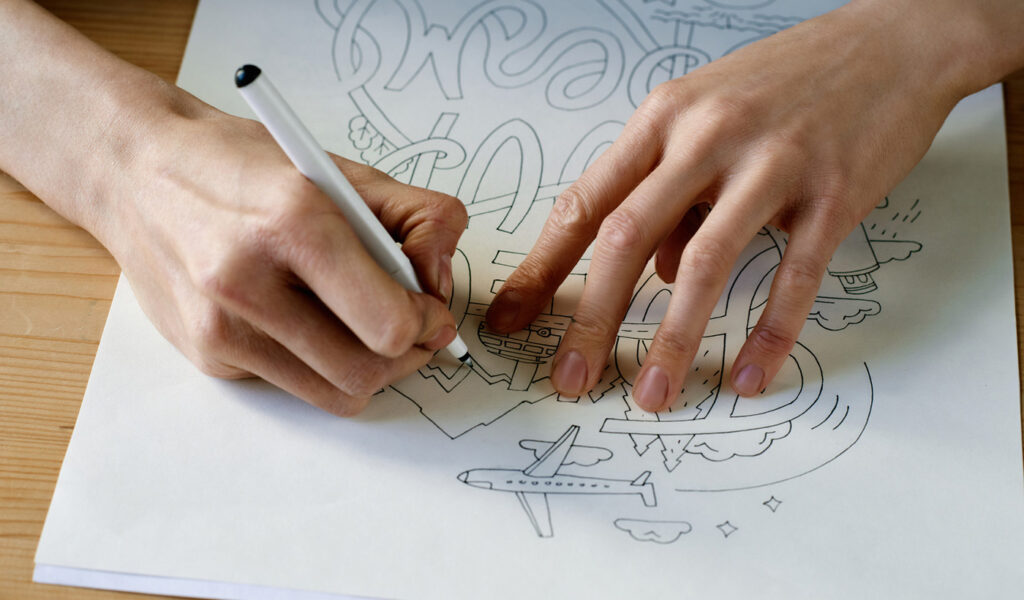
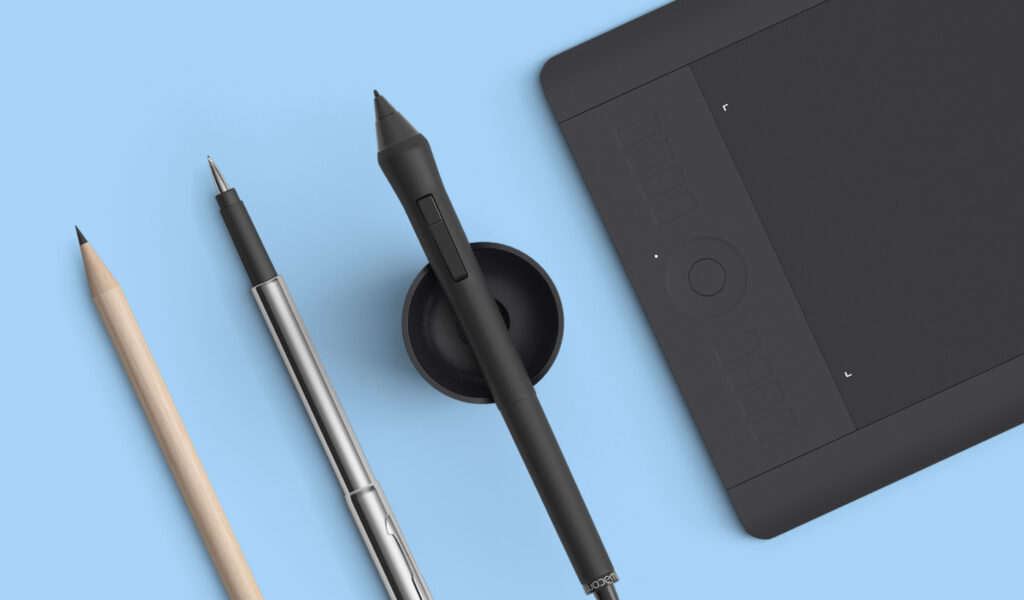
Most coloring books feature black-and-white illustrations. If you’re drawing by hand, you may want to sketch in pencil first. That way you can adjust your compositions before using a felt tip pen or marker to ink the final outlines. Medium or thick black lines will also scan and print well if you’re converting hand-drawn illustrations to digital images.
Creating your coloring book layout
1. Organize your pages
Decide on a sequence for your coloring book pages and organize your illustrations. That could involve laying out your drawings on a table or sorting your digital image files until you’re happy with the order. You can always swap out pages later, but creating your book layout will be easier if you plan ahead. Check out the strategy that designer and illustrator Sylvie Lee used to create her lovely coloring book, State Flowers of America:
I have always felt it was easier and more enjoyable to write or draw on the right-hand page of a double-page spread, so I kept all the coloring areas on this side. Another benefit of this layout is that it leaves room for fun facts on the left-hand page and you won’t bleed onto another coloring page if you happen to be using a heavy marker or another wet medium.
Sylvie Lee, author of State Flowers of America
2. Scan your artwork
When you’ve finished illustrating and organizing the pages of your coloring book, the next step is to scan them. Make sure to scan all your image files at a high enough resolution so the lines appear crisp and the image quality is consistent on every page. If you scan a detailed drawing at a low resolution (or try to enlarge a small, low-resolution image to fit a large page), you may end up with jagged outlines and blurry images. Do a few test scans to make sure the digital images look good when enlarged to the actual size of your coloring book pages.
3. Pick a format
One of the most practical and affordable ways to make a coloring book is as a trade book with Standard Black & White paper. The texture makes black outlines stand out and rich colors stick. The 8 by 10 inch trade book is a perfect size for coloring books.
4. Select a bookmaking tool
Blurb has a range of design and publishing tools to fit your project and skill level. One of the fastest and simplest ways to print a coloring book is with Blurb’s PDF uploader. You can draw your pages by hand or digitally, then upload your PDF to create a print-ready coloring book!
For more creative control, download our desktop software BookWright, then drag and drop your images into place on each page. This tool makes it easy to add captions or text boxes too.
If you already created your layout with Adobe InDesign, use our free plugin to publish your Blurb coloring book.
5. Choose a cover and print your book
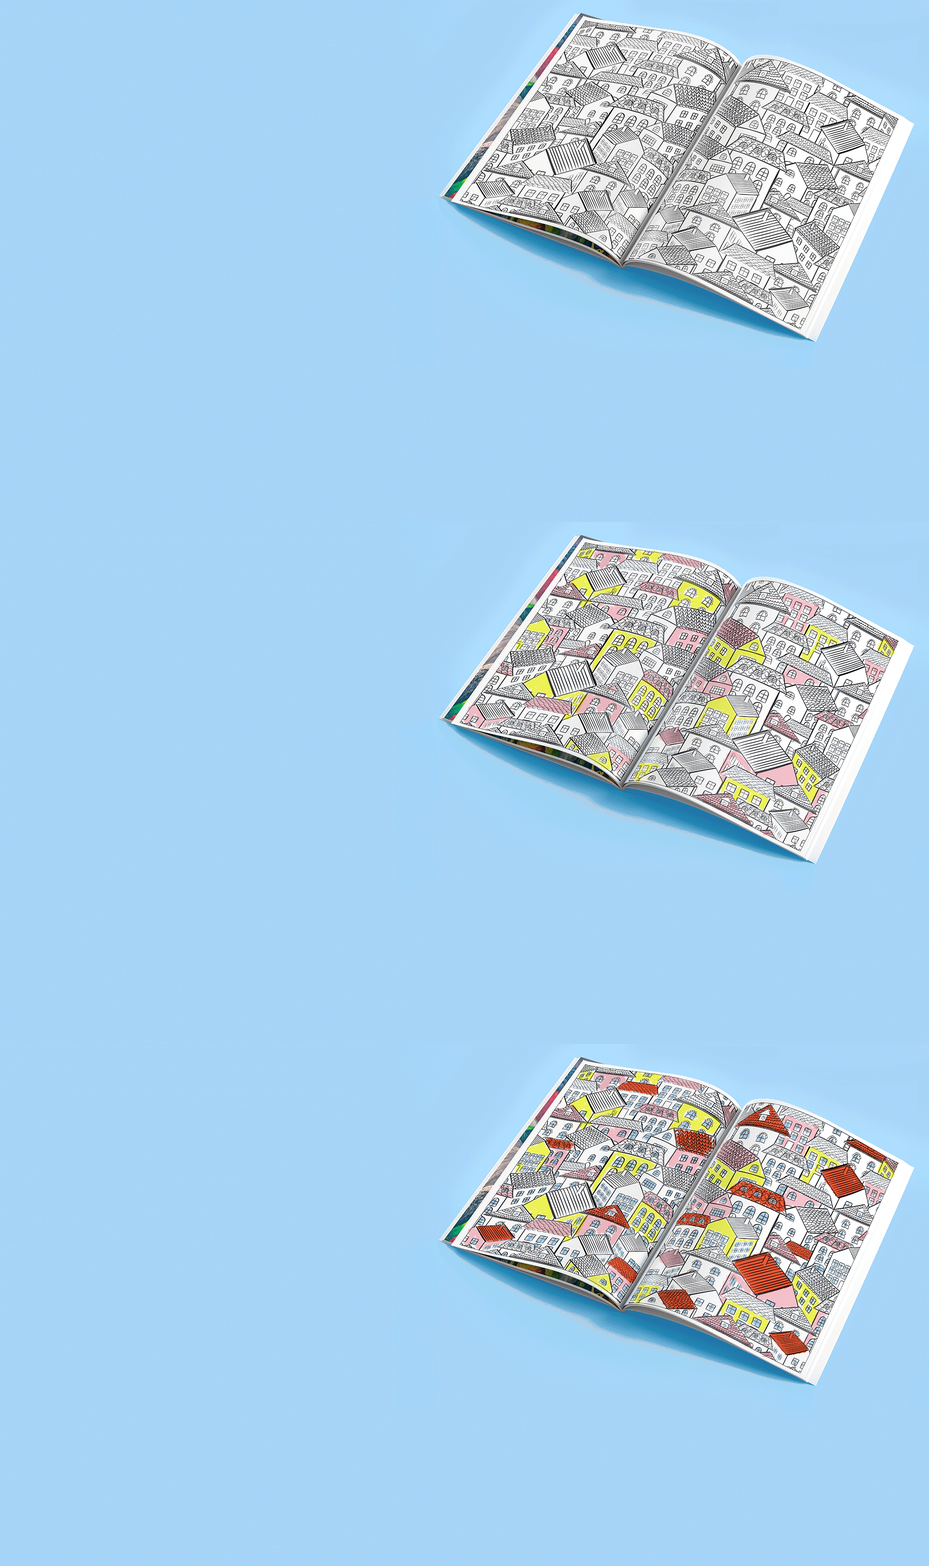
Most coloring books feature a colorful image on the front and back cover to give people a sneak preview and spark their imagination. Do you have a favorite illustration in the collection? Choose a cover drawing that captures the style and content of your book. You might show it in full color or as a coloring page in progress.
6. Share your coloring book
Everybody can use a little creative pick-me-up, so surprise your friends and family (of all ages) with a one-of-a-kind gift. If you want to promote your artwork to fans and followers, set your coloring book up for sale in the Blurb Bookstore or via Amazon. For more inspiration and advice, read Jessie Oleson Moore’s story of making and self-publishing The Unicorn Coloring Book.
***
Blurb is a self-publishing company that helps you make and print books on demand. Ready to make your own coloring book? Get started today with our free bookmaking tools!

This post doesn't have any comment. Be the first one!