How to illustrate a children’s book
Illustrating a children’s book is both an art and a science that requires a unique blend of creative thinking, artistic ability, technical skills, and understanding of young minds. Beyond the actual process of sketching and illustrating, you’ll also need to learn storyboarding, choosing colors, and developing characters to bring your children’s book to life. And even the most experienced illustrators aren’t experts in all these areas.
Fortunately, today, there are plentiful resources to help you learn everything you need to know to turn your ideas into a tangible, printed book. So, if you’re eager to create colorful worlds that ignite young imaginations through illustrating children’s books, this how-to guide is tailored for you. Let’s start with the basics.
Seek inspiration
It can be daunting at first if you’re entering the realm of illustrating a children’s book with little experience in this genre. But fear not. Start by seeking inspiration from successful illustrators and authors in this genre.
Immerse yourself in popular children’s books. Examine how visuals are employed to narrate a tale. Explore different styles and techniques used by various illustrators. This will help you understand different approaches and how visual storytelling works in children’s literature.
- Art galleries: Visit galleries that exhibit work from renowned illustrators or specialize in children’s artwork. It’s like a crash course in creativity.
- Social media platforms: Follow established illustrators on Instagram or Pinterest. Take a sneak peek into their creative process and let it ignite your imagination.
- Illustration books: Explore books that showcase artworks from multiple artists across diverse genres, including children’s literature. It’s a treasure trove of artistry.

Inspiration isn’t limited to other people’s work. It can come from anywhere—nature walks, everyday objects, dreams, and imagination. Stay open-minded as you embark on this creative voyage.
Research your genre and audience
Creating an illustrated children’s book is more than just drawing cute characters. You need to be aware of your desired demographic’s interests and outlooks, remembering that children’s literature can vary depending on age.
Kids’ books span different age groups, each with unique needs and preferences, so be mindful of who you’re trying to reach.
- Age-appropriate content: Pictures tell the story for infants and toddlers before age 5. So, keep illustrations simple yet captivating to hold their attention. For older kids and complex narratives, you’ll need more detailed art. Try adding subtle elements like metaphors or symbolism to your artwork.
- Diverse characters: Children’s literature is all about embracing diverse characters and themes. Create inclusive visuals that reflect the society in which we live.
- Cultural sensitivity: It’s often best to tell stories from our own experiences. But our individual experience can’t speak for our entire culture or identity group. Make sure you depict each character and culture respectfully and authentically. Research cultural symbols or consult experts to avoid misrepresentation.
- Mindset: To illustrate effectively for children, step into their shoes. What would fascinate them visually? What colors would attract them? Keep these considerations in mind to resonate better with young readers.
Remember, illustrating a children’s book isn’t just about showcasing artistic skills. It’s about communicating ideas clearly so even young minds can understand easily.
Collaborate with your author
Collaboration is critical if you’re an illustrator but not a writer. Understanding and executing the author’s vision—or vice versa—can be challenging but effective. Here are some tips for successful author-illustrator collaboration.
- Clear communication: Talk it out. Make sure you understand what the author or publisher wants from your illustrations. Don’t hesitate to inquire.
- Regular updates: Keep in touch. Share your progress and get feedback on your drafts.
- Flexibility: Be open-minded. Remember, it’s about working together to bring each other’s vision to life.
Eric Carle and Bill Martin Jr.’s work on “Brown Bear, Brown Bear, What Do You See?” is an excellent example of successful collaboration over four decades. Martin wrote the book in an incredible half-hour and reached out to Carle to illustrate it after seeing his work in an ad. Their effective communication led to one of the most beloved children’s books ever published, selling millions of copies over their life-long friendship.
Choose your art style
After immersing yourself in the world of children’s literature and understanding your audience, it’s time to choose your art style. This is an essential step as it will set the tone for your book and help communicate your story effectively.
Begin with popular styles
During your research, you’ve probably already come across the classic styles most often used in children’s literature. But, just in case, here’s a list of the top styles that you can consider before starting to illustrate.

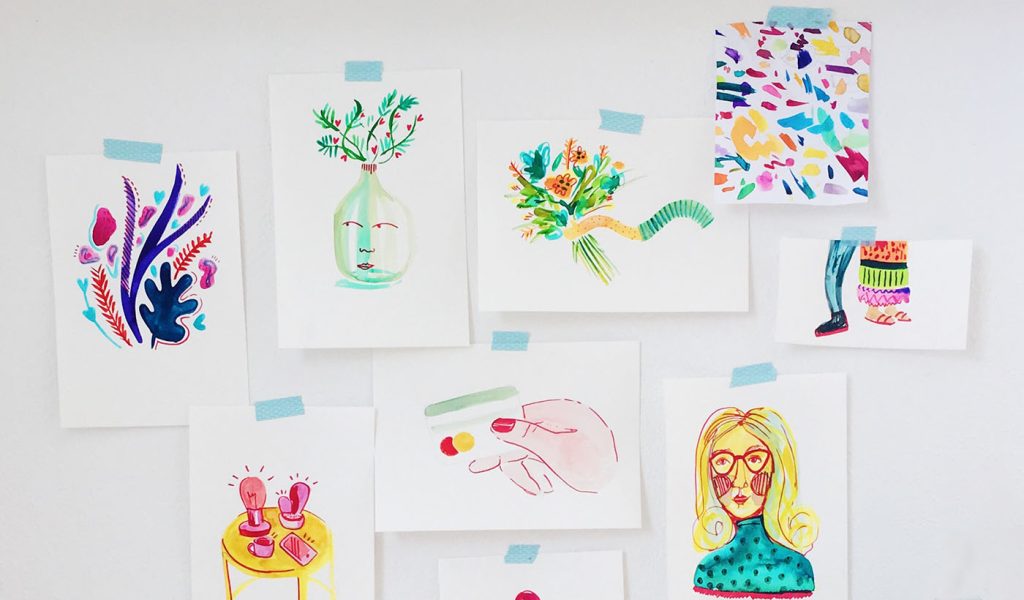
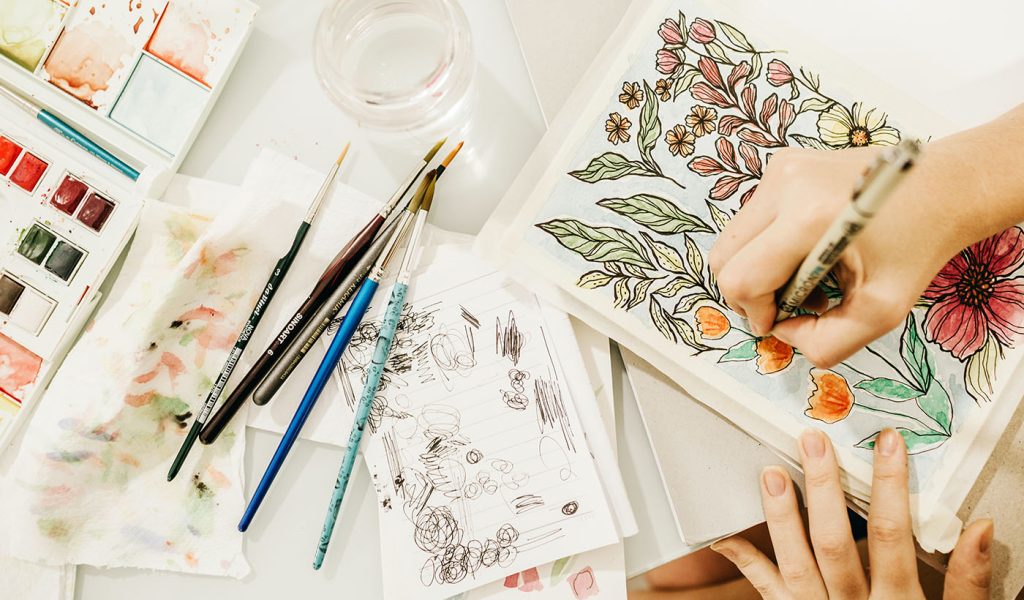
- Watercolor: Watercolor is a popular medium for children’s books due to its soft and dreamy quality. It’s great for creating atmospheric backgrounds and delicate details. Examples include Beatrix Potter’s Peter Rabbit series.
- Cartoons or comics: This style often features bold lines and vibrant colors, with exaggerated features to depict characters. It’s perfect for humorous or action-packed stories. Dav Pilkey’s Captain Underpants is a classic example.
- Cut-outs or collages: This style involves cutting out pieces of paper, fabric, or other materials and arranging them to create images. Eric Carle’s The Very Hungry Caterpillar is a famous example of this style.
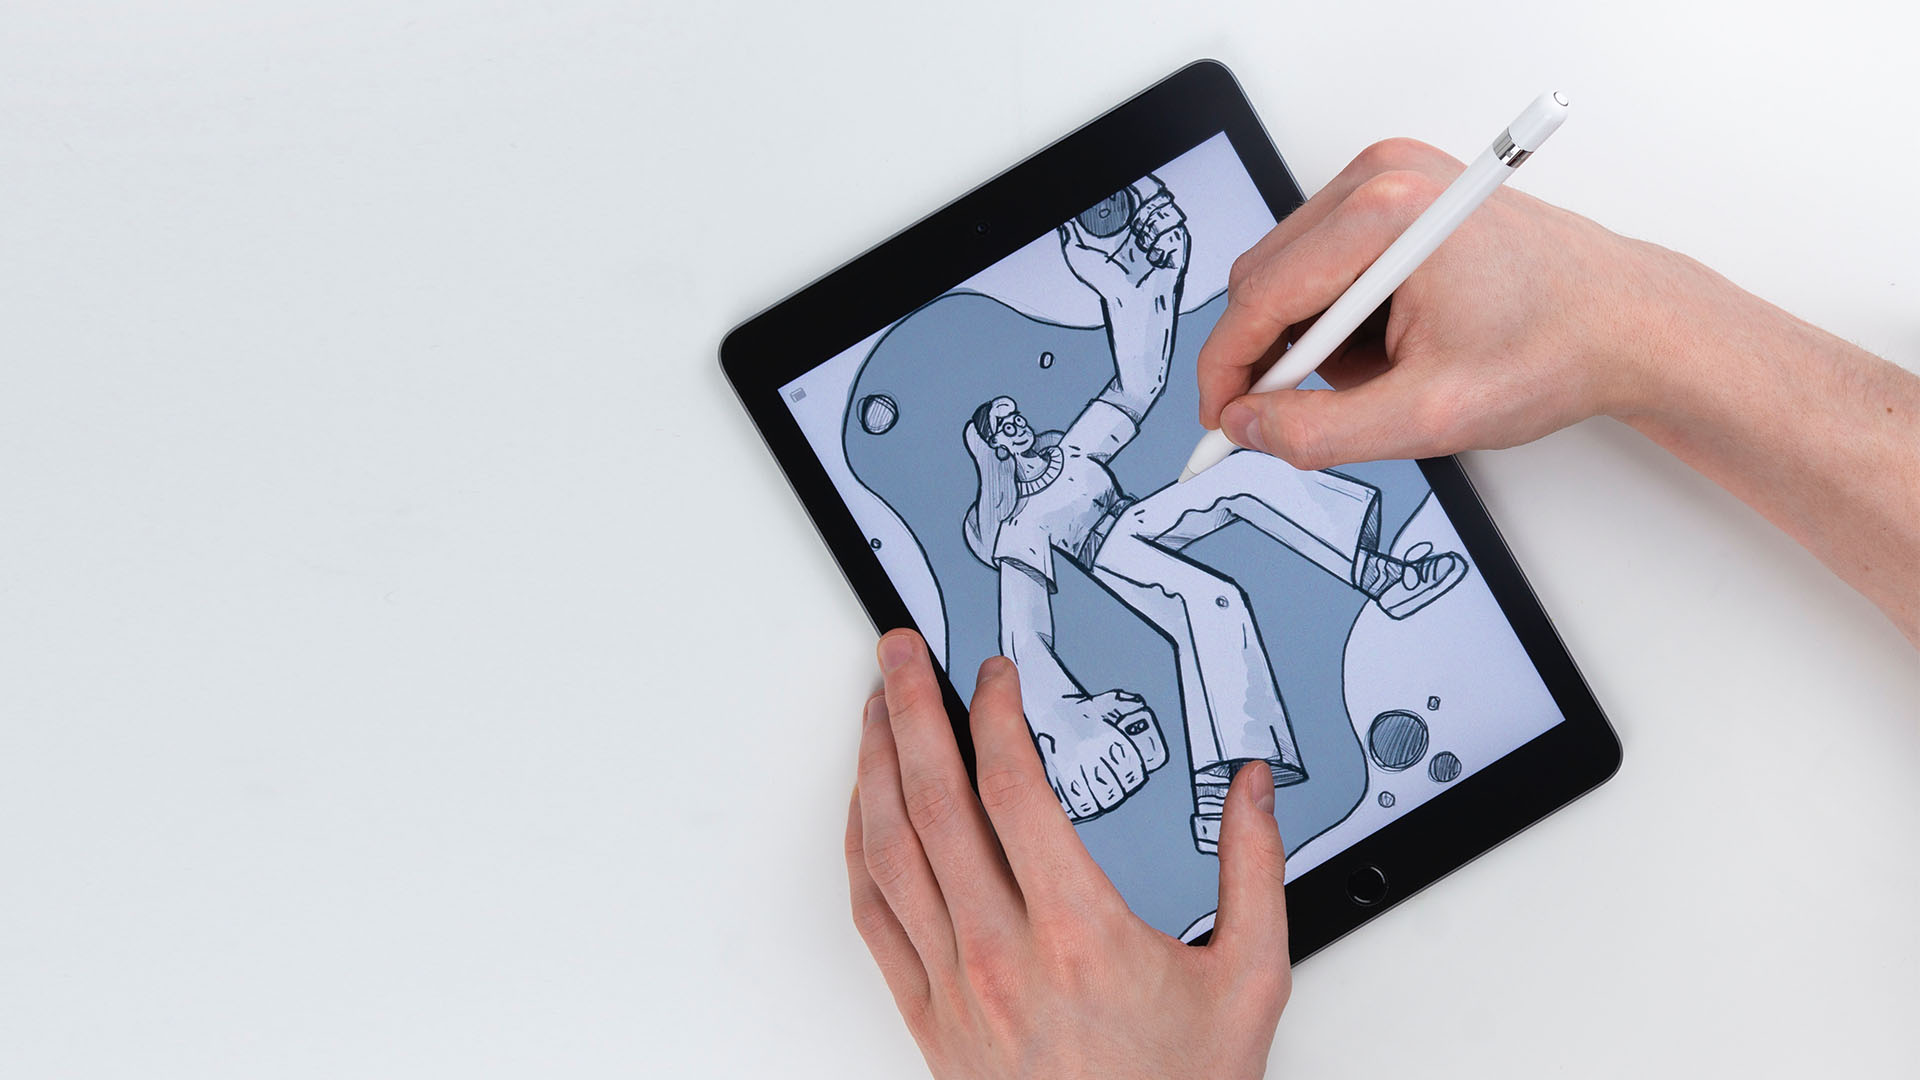
- Digital art: With advancements in technology, many illustrators are now using digital tools to create their artwork. Digital art can mimic many traditional styles, like watercolor, oil painting, and more, but with the added benefit of easy editing and manipulation.
- Pencil or line drawings: These are simple, yet effective, especially when paired with a good story. They can be black and white or paired with a splash of color for emphasis. An example would be E.H. Shepard’s illustrations in Winnie the Pooh.
- Mixed media: This style combines different mediums, like ink, paint, and collage, to create rich, layered illustrations. A good example would be Lauren Child’s Charlie and Lola books.
Find your voice
With some examples in mind, it’s time to figure out what will work best for you—and the story. Here are a few things to keep in mind while narrowing down your style.
- Identify your strengths. Start by identifying what you’re naturally good at. Are you adept at creating whimsical watercolor sceneries, or do your strengths lie in digital art? Maybe you excel at simple line drawings or intricate patterns? Identifying your strong suit will make the process more enjoyable and the final product more polished.
- Match your style to the story. Next, consider the story you’re illustrating. A humorous tale might call for exaggerated, cartoonish characters, while a serious or educational book might benefit from more realistic illustrations. The art style should enhance the narrative and make it more engaging.
- Consider your age group. Remember, different age groups respond to different styles. Younger children might prefer bold, bright colors and simple shapes, while older kids may appreciate more detail and complexity.
- Experiment and refine. Don’t be afraid to experiment with different styles until you find one that feels right. Sketch, doodle, paint, and play around with different mediums. You might discover a style you never knew you had!
- Stay consistent. Once you’ve chosen a style, consistency is key. Make sure your illustrations maintain a uniform look and feel throughout the book. This helps create a cohesive visual experience for the reader.
Remember, there’s no “one size fits all” in choosing an art style. It’s about finding what works best for you and the story you’re telling.
Pick your color and mood
Choosing the right colors and style for your children’s book is like picking the perfect outfit—it can make a big impression. Color sets the mood and engages young readers, so choose wisely.
Basic color theory is your secret weapon. Warm colors like reds and yellows bring the energy, while cool blues and greens create a calming vibe.
- Bold or pastel colors: Bold colors grab attention, perfect for action scenes. Pastels create a softer look, great for bedtime stories.
- Saturated or desaturated: Saturated colors are bright and intense, perfect for lively scenes. Desaturated shades give a vintage feel or a more subtle tone.
Your illustration style matters, too. Realistic drawings bring depth, while abstract illustrations leave room for imagination.
- Detailed illustrations: Meticulous planning creates intricate pages. Techniques like pen and ink or watercolors can help.
- Simplified artwork: Minimal lines and shapes focus on characters’ expressions. Perfect for highlighting actions and emotions.
Remember these applicable clichés: Less is more. Consistency is key, so don’t confuse young readers with sudden shifts. Keep it fun and engaging.
Develop characters and setting the stage
The essence of a children’s book lies in the characters and their environment. When illustrating, invest time creating inspiring characters and vibrant settings that resonate with the storyline.
Create captivating characters
Your character design should be as unique as their personalities. Experiment with different shapes, sizes, and colors until you find what best represents your character’s vibe. Your characters’ personalities ultimately tell the story and provide lessons for children, so it’s one of the most critical components to get right.
Design vibrant settings
The setting immerses young readers into your story. Whether it’s an enchanted forest or a bustling cityscape, fill each scene with details that bring the environment to life. Use color schemes to set mood and atmosphere: bright hues for joy, darker tones for mystery or danger.
Keep it cohesive
A consistent visual style throughout your book maintains continuity and enhances reader engagement. This means maintaining consistency in both character designs and settings.
- Character consistency: If your main character has blue eyes on page one, those eyes need to stay blue unless there’s a plot reason for a change. Keep track of these details with your characters—maybe create a “character sheet” for reference to list specific traits to help you keep track.
- Setting consistency: If there’s a tree outside the protagonist’s house at the beginning, include it every time we see their home again. This is a simple example of how small details make a big difference in illustrating cohesive and consistent children’s books.
Your illustrations offer more than just supplementary decorations. They’re the primary medium that tells the story visually.
Sketch and storyboard
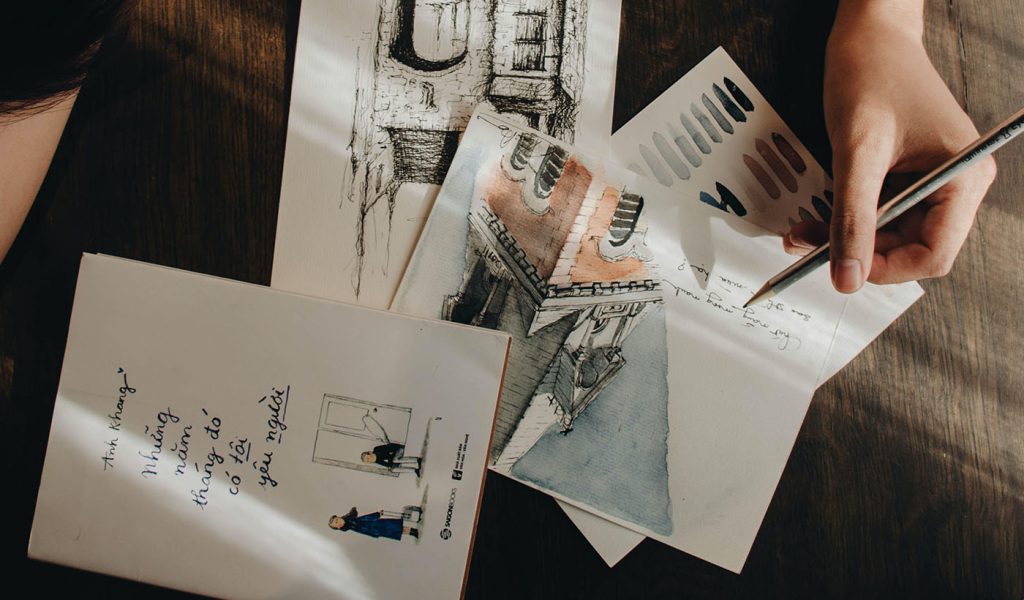
The first step in bringing your children’s book to life is sketching initial concepts. Unleash your creative power and let the ideas pour forth. Don’t worry about perfection at this stage; these sketches are just a starting point.

A handy tool for illustrators during this phase is a simple sketchbook. It’s like a playground for your ideas, where you can experiment and explore different possibilities without any limits. Plus, it’s screen-free and eco-friendly.
Build a storyboard
Once you have some preliminary sketches, it’s time to start storyboarding. Think of it as creating a visual roadmap for your book. It’s like GPS for your illustrations, guiding you through each scene and ensuring a smooth journey for your readers.
Instead of words, you’ll be using images to tell your story: a silent movie but with pictures.
Tips for effective storyboarding
- Keep it simple: Stick figures and basic shapes are your best friends. There’s no need for fancy illustrations, yet—simplicity is key.
- Show action: Use lines and arrows to show movement. Your illustrations should be so clear that readers can understand what’s happening without text.
- Maintain consistency: Keep your character designs consistent throughout the book unless there’s a deliberate change in the storyline. We don’t want any identity crises.
Following these steps gives you a clear vision of your project before diving into the more complex stages. A little planning goes a long way, so don’t overlook storyboarding as a navigation tool to guide the process.
Draft thumbnails and roughs
Once you have your characters, setting, and storyboard down pat, it’s time to really get into the creative process. Start creating thumbnail sketches and roughs of your illustrations.
Sketch thumbnails
Thumbnails are small, black-and-white drawings that help you refine composition, expression, perspective, angles, and lighting. They also provide a great platform to experiment with different ideas before committing to a final image. When sketching your thumbnails, feel free to make as many as you need in order to find the right solution.
It’s a good idea to sketch your thumbnails in sequence and as spreads, so you know exactly where page turns are and where you might want an illustration to span both pages.
Work on the roughs
When you are satisfied with your thumbnail sketches, it’s time for your roughs. These are uncolored sketches that build off your storyboard and thumbnails, but with more refinement. It’s a good idea to lay out your roughs in their intended page size, text, and with a light gray border, so you can easily see where the gutters will be.
Try to focus on expression and character poses as much as possible during this stage and make sure they are working together to tell the story. You also want to consider any elements that may need fixed perspective or require careful composition—these details should all be worked out now. This is where you can plan for page turns and decide where you want an illustration to span both pages. When everything looks good, it’s time to move on to the inks.
A final tip: keep your rough stages simple and loose. They don’t need to look like they are done—they just need to get your ideas across.
Make a book dummy
A book dummy is a mockup of your book, and it’s a really important part of the process, especially if you’re collaborating with a writer. This physical representation of your book will help you better understand the flow, spacing, and pacing of your story.
We’d suggest you make your dummy the actual size of your final book. This will help you understand how the scale feels in little hands. Paging through your dummy will help you make sure that the pacing, sequencing, and page turns feel right. Plus, you can send it to your author, editor, art director, or even friends to get feedback and get aligned before you finalize your work.
It’s actually such an important part of the process, we have an entire guide to making a book dummy.
Finalize your illustrations
Once you feel very good about your book dummy, it’s time to truly begin the illustration process. You have your blueprint, it’s time to add all the beautiful details that will bring your story to life. It’s important to remember that the illustrations need to be able to stand on their own—they should be complete and crisp enough for a viewer who may not be able to read the text.
Many illustrators take their roughs and block out color, starting with the darkest and moving to middle tones then the highlights. From those blocks of color, it’s time to add depth with gradients, masking, and light and shadow. Last up is the texture, to create a sense of reality.
Of course, your process may look different! Going from roughs to polished illustrations depends on your medium, tools, timeline, and style. Remember to enjoy the process.
Try digital tools
As an illustrator, getting acquainted with digital tools that can help enhance and execute your work can be very helpful. With that in mind, we’ll outline two digital tools that make the process smoother, and offer features that traditional mediums might lack.
Adobe Illustrator
Adobe Illustrator is a popular choice for children’s book illustrations. It offers vector-based graphics, meaning you can scale your illustrations without losing quality—perfect for print. With numerous brushes, effects, and color options, Adobe Illustrator lets you create detailed and vibrant images.
- Brushes: The software has various brush types like calligraphic, scatter, art, etc., each offering unique strokes and textures.
- Effects: From shadows to 3D objects or artistic filters—the possibilities are endless.
- Color options: You can access millions of colors and gradient options, allowing for depth in your illustrations.
Procreate
If you prefer working on a tablet device, Procreate, exclusive to iPad users, is an excellent choice. Procreate provides an intuitive interface paired with high-resolution canvases, making it ideal for detailed work. Its vast library of customizable brushes lets you add personal touches to your creations.
- Layers: This feature helps manage complex compositions by separating elements into different layers, which you can edit individually later if needed.
- Gestures: The app supports multi-touch gestures, giving artists more control over their canvas as they draw.
No matter what tool you choose, remember that practice makes perfect. Spend time exploring these applications’ capabilities before starting on the final artwork. Experimenting helps unlock new techniques while understanding how to best use them within the context of children’s book illustrations.
Gather feedback
Creating illustrations for a children’s book is like a dance—it takes sketching, coloring, and much refining. One of the most critical partners in this dance is feedback. Embrace it and use it to help your illustrations shine.
Communicate with collaborators
If you’re working with an author, editor, or another illustrator, communication is key. We’ve talked about it before, but it’s worth mentioning again. Communication can make or break a project, so be sure to stay in touch and continually bring your collaborators along as you are finalizing your illustrations.
Remember, not everyone provides feedback the way you like to receive it. Try to not take anything personally, and coach others on how you best respond to feedback. For example, you can ask the author to provide specific examples of how they want a certain scene reworked. Or, if you’re close to the end of a project, remind your team that you can only accept project-ending red flags, rather than nitpicking edits.
Seek feedback from colleagues
If you’re working alone or just want peer-to-peer feedback from fellow illustrators, it’s a great idea to reach out to them directly. Join online communities like DeviantArt or local art groups to showcase your illustrations and get input from fellow creators. You can earn constructive feedback from multiple, potentially hundreds, of people on these platforms.
Hire an editor
While your author or peers can offer fantastic feedback, there’s nothing that can beat a paid editor. So consider hiring a professional editor who specializes in children’s literature. They can give you valuable insights into how your illustrations align with the story, characters, and target audience. Plus, they can make sure that any typos, inconsistencies, or print errors are caught before you start marketing your book!
Not all feedback needs to feel like a punch to the gut. Feedback is great, but don’t let it hurt your artistic soul. This project is yours, so stay true to your style.
Understand printing formats and specifications
As you’re planning to bring your children’s book illustrations to life, there are a lot of details to consider when formatting and eventually printing your book. Let’s whizz through some of the most common printing formats and specifications.
- Format: Choosing the perfect format for your book is like finding the right pair of shoes—it has to fit just right. From small square books for tiny hands to larger landscape books for shared reading, Blurb offers various book formats and size options to suit your needs.
- Paper quality: Don’t underestimate the power of paper. A glossy finish can make your illustrations pop, while a matte finish adds an elegant touch. With Blurb, you can choose from paper options like Premium Lustre, uncoated proline pearl photo, and more.
- Digital versus print color spaces: Color spaces can be tricky, but we’ve got your back. RGB for digital screens and CMYK for print production—it’s like speaking two different languages. Adobe Illustrator has detailed guides to help you manage these spaces effectively.
- Bleed settings and margins: Don’t let those white edges ruin your masterpiece. Use bleeds to extend your design beyond the trim area. Treat margins like bodyguards for your text and images, ensuring nothing gets cut off during binding or trimming.
Now that you have the knowledge to conquer the printing process, you can assemble and polish your illustrations for a flawless finished product.
Publish and market
Once you’ve finished illustrating and assembling your children’s book, it’s time to publish and market it. When publishing a children’s book, you can go traditional, which can be an uphill battle for most creators. Or you can take complete ownership of your book and self-publish it.
Traditional publishing houses
If you choose the traditional route, let the publisher handle the marketing and distribution. Just pray they accept you and find an agent to pitch your work. This option is a long shot for authors and illustrators without a track record in the industry.
Self-publishing
Self-publishing gives you complete control and ownership over your children’s book. Not only do you have to finance the project, but you also have to handle marketing and distribution. Platforms like Blurb take much of the guesswork out of the equation and make self-publishing a book easy.
Marketing approach
Marketing your self-published book requires a strategic vision that uses a combination of approaches. Here are a few to consider.
- Identify your target audience, including parents or gift givers, and tailor your marketing efforts to them.
- Write an enticing book blurb that inspires and excites readers to want more.
- Establish a presence online by creating a website, blog, social media, or a combination of these platforms to help spread the word about your book.
- If your book is listed on Amazon, encourage reviews by contacting friends, family, and influential bloggers in your genre.
- Host a launch event at your local bookstore or library to celebrate the release of your book.
- Donate copies of your book to schools, daycare centers, or libraries to help build awareness.
- Build an email list to keep your audience engaged and informed about your book.
- Use keywords and metadata to optimize your book’s listing or web content to show up across search engines better.
Not all of these marketing tips will apply to your children’s book, but mastering a few of these channels can help get your book known. Remember that marketing a self-published children’s book takes planning and effort, but it is essential to reach your target audience and ultimately sell your book.
Why use Blurb for children’s books
Blurb is a preferred platform for self-publishing children’s books because it offers a range of tools and resources to help authors and illustrators create, print, and sell their books, all while allowing them to maintain complete creative control over the final product.
Blurb offers free bookmaking and design tools that allow creators to easily drag and drop illustrations onto blank pages and use any of their fonts. Once published, Blurb allows creators to promote and sell their self-published book in various ways, including in the Blurb Bookstore, on Amazon, and with worldwide online retailers.
Get started today with Blurb!

