

How to make a custom notebook or journal
Editor’s note: This blog post was originally published on October 4, 1028. It was last updated on August 12, 2024, to reflect the current features and capabilities of Blurb’s custom notebook and journal creation process in BookWright.
It’s time to explore the world of completely custom notebooks and journals using BookWright by Blurb. Whether you’re already adept at crafting beautiful books or just getting started, this is a fresh canvas for your creativity.
Blurb’s intuitive software empowers you with complete design control, allowing you to tailor every aspect of your notebook or journal. Whether you’re creating for personal use, as a unique gift, or to sell through, the process is easy and fun.
So what are you waiting for? Let’s get started!
Step 1: Launch BookWright
Download BookWright or launch the free software from your desktop. Select Create and choose Notebooks in the module. You can choose from three sizes—and go all the way up to 480 pages!
Blurb offers three bookshelf-ready sizes: 5×8 in (13×20 cm), 6×9 in (15×23 cm), or 8×10 in (20×25 cm). Pricing will differ between sizes, so check out our pricing calculator before you begin. This is particularly important if you’re planning to set your custom notebook or journal up for sale.

Step 2: Select your paper and cover type
It’s time to choose your paper style: Blank, College Ruled, Wide Ruled, Narrow Ruled, Dotted Grid, or Solid Grid. Don’t worry—you can customize each individual notebook or journal page later. But this step will autofill your project to get you started quickly.
For your cover, you can pick from an ImageWrap hardcover with a matte finish or a glossy softcover.
You’ll also see the price pop up, so you know exactly how much you’ll be spending.
Step 3: Title your work of art
Pick a title and author name that feels right. And don’t forget to choose a file location that will allow you to find your work later.
Once you select Start your project you’ll officially be started!
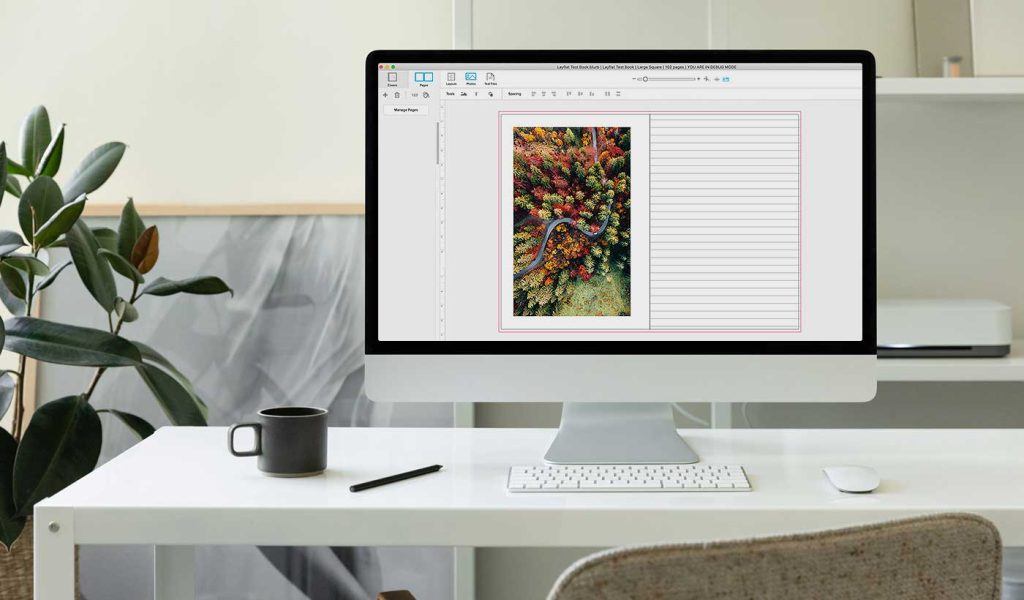
Step 4: Customize your notebook or journal
Now comes the exciting part—bringing your vision to life. With BookWright, you have complete control over every aspect of your notebook or journal. Start with the page count, which defaults to 72 but can be adjusted anywhere from 24 to 480 pages, as long as it’s a multiple of 12.
Design eye-catching covers by adding text to the spine and creating images that span both front and back. Inside, mix and match templates by simply dragging your preferred layout onto any page.
Enhance your pages with photos, text, shapes, and graphics, just as you would in photo books or trade books. The possibilities are endless, allowing you to create a notebook or journal that’s uniquely yours.
Pro tip: Draw a white rectangle over the template lines or dots to customize your pages even further.
Step 5: Publish and distribute your creation
Once your notebook or journal is perfected, it’s time to share it with the world. When you’re ready, upload your finished project to Blurb. You can have it shipped directly to you for personal use or sent straight to your intended recipient as a thoughtful gift.
And if you’re looking to sell your creation, list it on the Blurb Bookstore for direct sales to customers. For an even wider reach, take advantage of Ingram’s extensive network to make your notebook or journal available through numerous online and physical retailers worldwide.
***
Whether it’s a design sketchbook or a journal to gift to your best clients, the possibilities with Blurb’s custom notebooks and journals are endless! What will yours be?
This post doesn't have any comment. Be the first one!